Wednesday 2 December 2015

Update. Achievement System.

So a lot has been happening. Finally finished studying was great to be done, learnt a lot towards the end and don't regret anything. Sadly I decided not to present at the expo as my project has spiraled into a massive full fledged game. I found that all the tech I had been working on in my little test scene was fast breaking the constrains of a simple wave-spawning game.

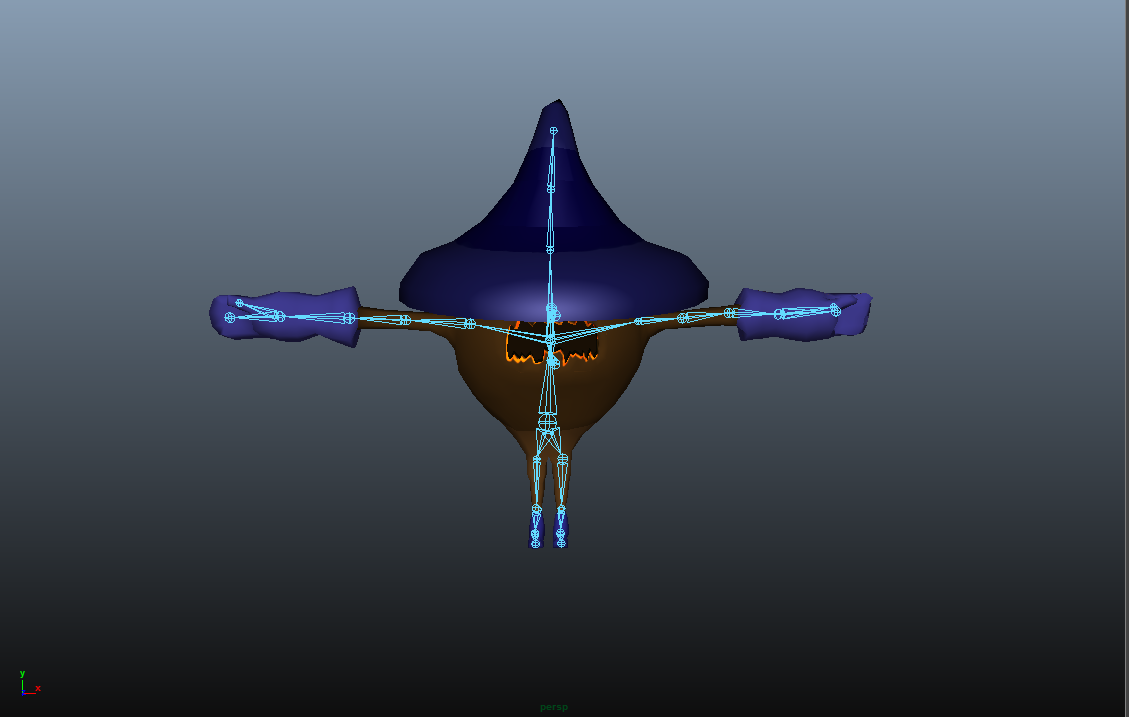
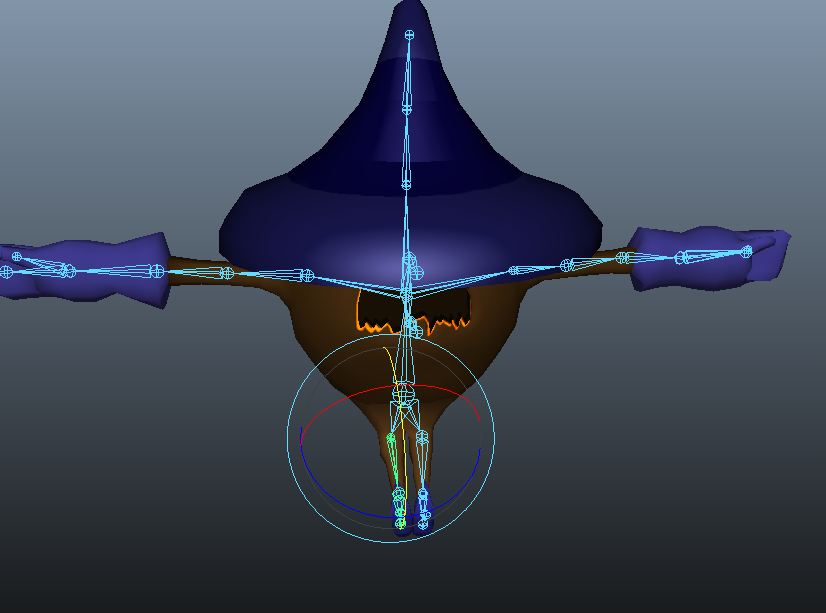
Lets be honest, It never was what I wanted but due to time constrains and the fact that I need to turn it into a game I had to squish everything down. But now I can break it out and let it breathe and be free. There are still aspects I'm not happy with such as art style and texturing but I know that just takes time.

I'm going to be working on this game over the next couple of months just getting things working and making a really sound portfolio as well as show reel. I'm basically going to position myself as not only someone who can make games but can program as well. That way I'm not relying on any one person to complete my pipeline.

Anyone onto the Update.

So it Start out as an in class assessment, where we had to design some icon's for achievements etc. I have to say. GUI and Simple Icon's I don't know it's not my forte. But I tried never the less so  I started playing around and ended up with a very simple style. Not overwhelming exciting but I tried to keep it all consistent.
Brain Storming and Developement

Then I started with some C# and built my very own achievement system 100% my own work and coding and was super proud with it. It's the one thing I really enjoy is implementation. Even thou it's not entirely hooked up in the game I just have to right a couple lines of code but by pressing "I" in game brings up menu and I can test the achievement pop up with certain Keys. I made The GUI and menu to be as if it was on a table. 

I'm thinking later on to see if I can animate GUI to the point that I want to rip the paper off the nails.
Something to look at :D

Hell Yeah!! 10 Achievement Points

Wednesday 14 October 2015

Texturing Assets

Texutring is one of those things that just takes time. The more time you put in the better it looks, You rush it well... it looks like shit. I've very slowly been working on the church asset I designed way back at the start of the year. 

I really enjoy the brick texture I've managed to come up with. I probably need to work a little bit on the seams and repetition of it but all in all its getting there. Thanks to a class mate Michael. I've successfully mastered unwrapping like a mad man. I no longer fear it but enjoy it. Thou because this was one of my first models, and Stupidly I built it all in one piece it is a little tricky to unwrap to get the uv's to line up and not be distorted. 


Slowly work in progress

I need to work on the shingles and Wood not really happy with that yet.

Hero Character Completed.

So I've finished my 1st humanoid character ever and 2nd Character Rig.

After much torture and pain with head topology. I'm slowly getting the hang of it, I'm still not 100% happy with this character but push came to shove and I really needed to start finishing aspects of for my game. He's not textured currently, That should be done hopefully by the end of the week. He's all rigged and animated thou and ready to be imported to my game.

I originally started with the theme of a blacksmith something like Gendry from GoT. But with a cartoon twist. Well I'm hoping my texturing can get me the result I really want, we shall see. I'm not to fussed thou because I've got a back up script ready for him anyway.

The character finally finished at:
4888 tris

I'm happy with the legs still need to work on Head/Torso

He's a little Fat!


Space Butt Delivery... My 2nd game jam!!


So it's been a couple of weeks since I've posted anything. Been busy working on some undisclosed stuff and planning the future and all that jazz.

So to recap. Colleges and myself produced a game in 2 weeks. The theme that was voted on was "Get your arse to Mars." We went head to head against the other class on campus and worked tireless on the project in 2 weeks.

I was part of the art team.. Sad to say I felt the art team could of worked more efficiently but all in all i felt the product really turned out well. I had a lot of uneasy feelings towards this and mainly the collaboration between so many people, But I was happy to be proven wrong and the product speaks for itself.

The things I worked on during this product. I designed the shed in the background, (texturing was done by another student), Designed the rocket buttons and some of the upgrade buttons. 

Be sure to check out our game and even give it a play test here.
It's been uploaded by Peter so check his other games out as well here.
Our Neat Loading Screen

Buy them Upgrades!! 
Flying Through space on our way to Mars
Preparing for our first launch!

Day 30 extra protection needed!!

Monday 24 August 2015

Ludum Dare #33 - You are the Monster. 3 day Jam.

So over the weekend we had a game jam! Our first one ever as group that had never worked together! 2 programmers and 2 artists, We had to publish a game within 72hrs, and we did it!

The concept was just simple bomberman style game. Where you are the grim reaper and harvest souls of fallen gamers. The angel tries to save them before they reach the "game over" screen! It's a simple time based game where you have to meet the quota of souls, if you don't you lose.

All in all it was a great learning experience! Definitely in the future I'll be doing it again. I felt our group worked amazing for never having been together. I'm hoping that in the coming weeks we decide to polish this up and make it truly 100% complete.

Our members were
Mark: Blog Link
Max: Blog Link
Peter: Blog Link
& Myself

be sure to have a look at their work!


And more importantly have a play of our game here 

Wednesday 12 August 2015

Gui Health Bars

Did a quick excerise in class on how to make a GUI health bar. I'd recently played around with the new Unity 5 canvas and UI element. But learning to do it really fast using photoshop and simple hardened bevel and emboss. All in all really great concept.

I tried to design to different styles. Went with a sort of Icy look and just a stock standard metallic and simple style. 

Holiday Muck Around

During the holiday's I got a little unproductive and started playing games and fun stuff again, mainly just due to being severely burnt out. I always loved the story and concept of Arthas and the Lich King. So I decided to draw him as best as I could using the Lich King Cinematic as reference. I've been working slowly on this piece for the better part of 3 months I reckon. I really wanted to do it faster but at the same time I wanted to do it justice.

I found it extremely difficult to compare something 2d like a painting and use a 3d cinematic as reference but i persisted with it. I think i screwed the sword and shoulder hard thou but all in all i'm pretty happy with how this turned out.


I would of loved to done a background but at the same time, I just want to move on and do some more things and maybe I'll come back to it and do it even more justice.

Sunday 9 August 2015

3d Gui Element.

Did an in class exercise turning a logo from the internet, to a vector based 3D element. Basically showing how these can be generated really fast for either splash art, load screen and other good various stuff. Started out using Illustrator and Vector Traced the element then, took it into Maya and extruded the elements.

From there we gave it some nice delta and some specular to make it look interesting in Z-brush as well as finishing it in Photoshop with a high pass filter to bring it to life. 


All in all the exercise is great workflow and great way to produce something for a game.

Wednesday 22 July 2015

Potato Man Render.


Here you can see the controllers so that I don't mess with the rig and break it!! 

                 The constraints in the right picture affect the movement. ^_^           

Just a quick snap of my character for my game. With some nice lighting affects. 
With this rig had to use multiple techniques, from pole vectors to double IK joints to make the legs work to how i wanted. All in all I'm pretty happy with my first rig and model. Hoping to pushing my skills with the next couple of rigs and models I make. 

Tuesday 21 July 2015

Face Animation and Rigging


Gui and Face Rigging with the Root Structure.

Been a little while since last blog, been busy developing ideas for my game. Doing an excess of a pixar-esque face animation. It's a pretty simple excess. I find rigging almost second nature and it's literally all about good joint placement and good topology.

Next step skinning weight and joint orientation to the Gui.

Wednesday 10 June 2015

Hand Painting Textures.

I've decided that texturing is that I needed to address, As I felt my game is in a nice position but lacking any sort of visual feedback and art style.

So I started doing some textures for my ground just something that could be easily tileable. I have to fix the seams up.

I've also started hand painted the UV Atlas for my Victorian style building. It's slowly progressing. but here is a little update of it anyway plus some of the textures I've been using.


This is the cobblestone path I made. 


Wood Texture for boards, flooring. 


Some shingles, I'm not really happy with these doesn't fit with the rest of the style that I've made


Wood Boards for the walls. 


My cobblestone in the game.. I just need to fix the seams and make it truly tileable. 


My Hangman's Noose with the wooden board texture. 


Turning my atlas into hand painted textures all over 


3d printed a model.

Just a quick update about something a little different today. I sourced a company and just wanted to test the world of 3d Printed models. I think it's something that will really bring my game to life when I go to pitch it to people. So they can physically touch the characters/assets or whatever.

So as a sample tester I got one of the tree's that I produced in Z-brush a while back.

 The difference in 3d Printing is quite apparent once you think about it logically (something I overlooked), The models you produce need to be structurally viable, Be able to support themselves, not be to thin. Also having a base for the printer to start on is something that is essential otherwise the printer just starts with supports and doesn't have anything to support itself.


So here is the tree in all its glory!!

Wednesday 3 June 2015

Holy shit, Stop the press. I think he finally Gets it. (A tale of struggle with UV Atlas)

Whoa whoa. A blog update. I've been a little bit slack about positing things lately. I've been getting frustrated with UV unwrapping and it's basically bottled necked my entire project just due to my brain and myself being retarded. But I finally understand how to do it. So that's good at least.

To summarise what a UV Atlas for mainly those people that don't understand, Is when you texture an object and import it into a game. When the player see's it with a texture on it, the makes what we call a "Draw Call" to establish the connection between object and texture. If you can fit multiple textures on what we call a texture atlas, it can cover more than one object and thus still only make the one draw call. The problem with multiple draw calls or an excessive amount of draw calls is that it can lag the users computer.

So in the last two weeks I've updated my greyboxing and doing it a lot more modular and doing my texture atlas.

Greyboxing Attempt #2. Going a lot more modular.

With a simple bunch of modular parts I build a simple castle/church. 


The atlas of simple textures that I will then modify and hand paint later. 

The struggle I had with UV atlasing, was more so understanding it. Simple things such as realising that Maya isn't like Photoshop. In photoshop if I make a 4k texture the canvas scales to 4k, In Maya the canvas resolution stays the same so 512 can look like 4k canvas. Confused the shit out of me!!


Wednesday 13 May 2015

May Update, Greyboxing, Particle effects, UI Elements, Polishing Code.

I've been working and programming and modelling and animating and god only know what else.

I've built my game and started to make it come to life with particle effects so I can shoot some projectiles and interact with my models that I'm building. As well as adding box collides on models to start bringing in that physics engine.

Die skeleton.

You can see that my fireball reacts to surfaces and adds physics the fireball assets isn't created by myself, I don't really have any interest in making particles so I bought some to give me a little life to the game. 

Testing the colliders 

I've fixed the GUI so that when I cast a spell it consumes Mana, Health goes up and down according to if the player is hit or not. And the enemy health bar goes up and down according to the enemy's health.

Skeleton model not finished but I just wanted to something to shot at

Greyboxing

I've been learning about Greyboxing and I've bought this to the front of my game, as I know that this is going to be a big part of what I need to do. I've started researching city landscapes, road paths and styles. I've found a style that I'm hoping to achieve in Croatia streets. 

I
The idea of having a centre piece of church. Is something that makes sense. "It says oohhh gotta go there"

I very much like the style of tight streets and overhanging buildings. Also the lights gave me a fantastic idea of how to light my scenes. 


Monday 4 May 2015

Importing UI Into the game

I've been struggling a little lately with my game development. Just a lot of little bugs that I didn't count for but finally got something to show!!

I've been working with the new GUI in Unity 5 and importing my health bar and mana bar in so that my character can take damage and spend mana.

I sourced a really good document and broke it down so that I could understand how UI elements work in relation to what the player can see here.
It helped a lot. I used a little of what the author did but changed a little bit to make it my own.

First we start with the graphic of the object we want in this case I wanted globes like my beloved Diablo game


Then we need some simple textures for what is going to be inside the object. I've chosen the classic mana blue and health red for my game. Later on I most likely will have energy and stamina as well. 


A simple Mask to hold the texture to the shape and translate it to how we want it to look in game.


And magic we have UI elements!!! 
Hopefully next blog entry I have my character up and running around. 

Wednesday 29 April 2015

Character Update

Another week, another little step for progression on my own project.

I've committed to sinking my time solely into my own project, and getting a lot of passion about it and a great deal of fire. I'm planning that by this weekend that I'll have my character in my own game and ready to move around and animate. So exciting times. 

I think once I get my character into my game and I can physically see what's going on and what needs work. I'll be really happy and can easily start putting pieces together and start adding things that would make my game look a lot better.

Texturing once again eating a lot of my time. I keep having to remind myself that it's just a prototype at the start. So with the mesh and character it's all just part of developing it. I figure it's very important to get the feel and and look. Then later on come back to it and fix it up. Polish it off. 

There is always going to be two sides two how it should be done. Someone that is clear and I guess a little more talented could do it all in one sitting but I'm finding that the image in my head and my skill is a little different, So the best way to do it is to make base colours and build it up slowly.

Anyway enough ramble here's how the Evil Potato looks like. So this is the character that I did earlier in a concept art.


I've rigged my character and given him a base layer of colour.

As you can see I need to skin the weights on my model to make not collapse on its self.


Reference image in case you've forgotten what he looks like 

Monday 20 April 2015

Modelling and Progression in Development of Game

Been just over a week since I've made a post. I had a huge productive week during Study Break.
Holy shit.. Study break and actually studied what is this nonsense :D

So to summarize what I did during my study break I first worked on alot of Halloween assets, to get ready for my development of my level. To make it look all scary and Halloween like, but more importantly to give me a feel of what I need to do and give it a bit of a story and direction


Halloween Assets

Then I worked on the random Generation of my Game. I wanted to make it like Diablo II one of my favorite games as a child. Random Generation has always interested me. I think it's something to do with the fact you can play a game and due to the generation it can feel different.
Random Generation in Unity


Layout

As you can see there is a huge difference between the two pictures above.
I've only got 6 tiles atm, and the outer edges are always mountain terrains to keep the player boxed in for the most part. Later on I will add an exit so that the player can progress.


I added a new camera script to my character place holder as well as converted all the settings the player makes on the generation screen so that comes into the game aswell.


I then also worked on my Evil Potato that you may have seen some concept art for a week or so ago. Making him in Maya. And then i'll rig him and skin the weights so that he's ready to animate. 
Obviously you can tell that with alot of my stuff it's un-textured. At some point i'll get on to it but atm I'm really trying to get a prototype level, So that I can get the general feel and flow to the game.